Pages

Showing posts with label upcycling. Show all posts

Monday, 30 April 2012

Cloth napkins and TJ's photos

A long time ago (about a year) we started using cloth napkins.  I had been gifted an interesting non-tear fabric that worked quite well for us, however it is also quite water resistant.  I do believe it was old nighty material and isn't the greatest for wiping hands at the table.  These are now moving to the diaper area for wipes or we may use them for our noses (must be sure not to mix them up).

TJ and I started another project together.  We selected some material scraps that were large enough for our napkins (I measured a cocktail napkin at about 10 inches).  I decided to make them double sided for ease of sewing and durability. Our fabrics are flannel/old receiving blankets and cotton scraps from other projects.

To make these napkins:
Cut out two pieces of fabric about 10.5inches square
With right sides together sew around the square leaving a small opening
Turn right side out
Machine or hand stitch the opening closed
Top stitch about 5/8inch in from the edge


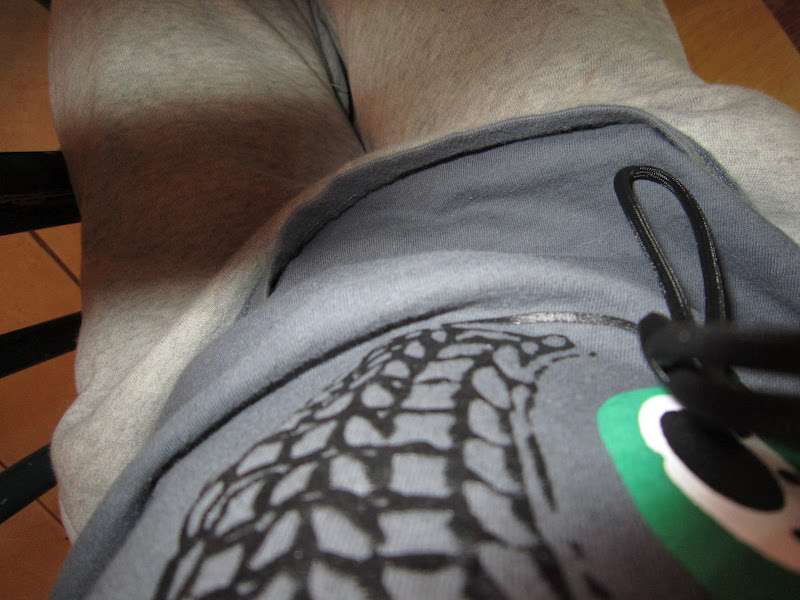
While I was working TJ decided to use the camera.  I am curious about his angles and what he sees.


His shirt

Friday, 20 April 2012

Happy Earth Day

 I have gone through my blog to gather up all our recycled/upcycled and Earth friendly projects for inspiration.

We don't have any specific plans for Earth Day this year so please leave me a comment if you have any suggestions.

Recycled Art Wrapping Paper
Free Crafty Fun
Melted Crayon Art
Bird Feeders
Playing with recycling
Fabric Roads
Earth Day Flowers
Nature Treasure Hunt
Nature Table
Nature Crafts
Nature Wreaths
For all of our Upcycled projects just click here.  I also realized that almost all of my sewing pojects are upcycled materials.  I think I may need to spend some time relabelling older posts to make sure they are in the right categories.

Monday, 30 January 2012

More Felt Food

A few weeks ago I found a wooden play kitchen for free on Kijiji.  I know.  How could I pass up such an amazing offer, especially since I just made a lot of felt food at Christmas?!  My wonderful husband went and picked it up for us.  It has been a big hit even though we didn't fix it up or anything.
Our kitchen when we first got it
This past week we finally got to doing some work on the play kitchen.  I liked how it was simple as it leaves more room for the imagination.  We did add some hooks and a bucket for storage.  Jon also added a back to the black shelf so the food wouldn't fall out.  Our intent is to add doors to make it a fridge.  When we get some time and money we'll get to it.
Ikea accessories

Pot hooks for the sides

Remodel of play kitchen
In the evenings I have been making a few more pieces of felt food.  Pictures below is a slice of tomato, a piece of lettuce, slice of swiss cheese, a loaf, half a bagel, a piece of watermelon and some peanut butter.  TJ calls it Wow Butter (a new soy butter we are trying due to MJ's peanut allergy).

I have grand plans but little time.  I am working on some strawberries, an apple, a cob of corn and another half of a bagel.  I'l love to purchase a set of wooden meats you can slice.  And I've got plans to knit a dozen eggs for our empty carton.

Any suggestions for more things to make?

Friday, 24 June 2011

Canvas Bag Makeover

For the orange party we had for the boys' birthdays I made some personalized canvas bags for loot bags.  The whole project was very simple and turned out great.  I forgot to take pictures of them all, but I did manage to get a shot of the one for my niece.


Here is what I did.
Supplies:
canvas tote bag (I had a lot of promotional ones that were too small for groceries)
material cut 2 pieces slightly larger than the size of the bag
contrast material (optional)
sewing notions

1. Measure the size of your canvas bag.  You may wish to wash the bag at this point as it will shrink if washed later.
2. Cut two pieces of material slightly larger than the tote bag.
3. Add applique or other decorations as desired.
4. With right sides together sew around the sides and bottom.
5. Turn right side out and slip the tote bag inside.
6. fold over the top edge of your material a bit.  Pin and sew it around the top of the tote bag.  I tried to sew most of the bags right at the top edge but this material was a little short.

Enjoy!!

Wednesday, 18 May 2011

Little black skirt

I had the best time at the Value Village sale on Monday.  I went twice!!  Yes I did and I bought almost everything for myself.  It's been a long time since I did that for myself and I loved it.  Here is what I bought for about $50:

1 purse
5 tops
3 tanks tops
2 mens shirts
1 coat for MJ
3 sweaters
1 dress
sheets for material

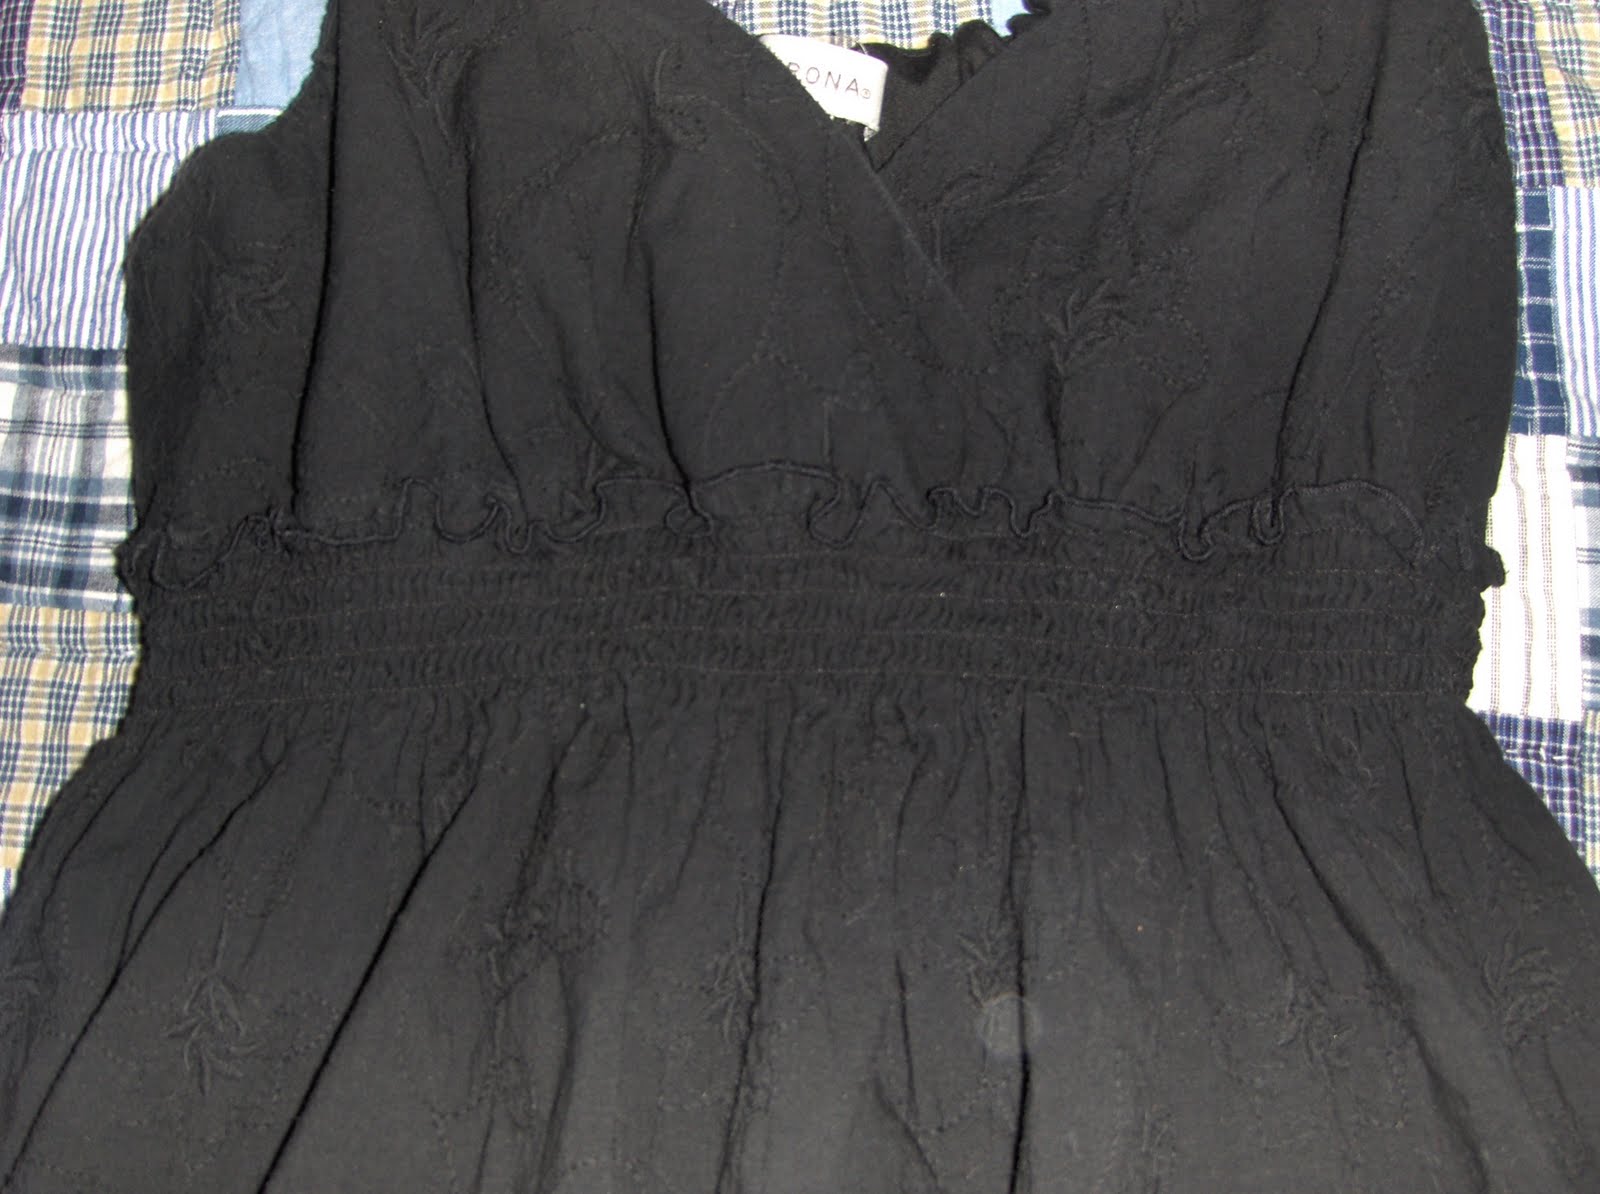
I saw this dress the first time I went and considered buying it, then when I went back it was still there so I got it.  Okay don't get mad, I know it is a cute dress and I fit me, but I turned it into a skirt.  I have been dressing more modestly and didn't like the fit at the top of this dress.

First I made an overlocking type stitch all the way around.  Then I cut off the top of the dress.  Ha!  It was just that easy.

I think it looks pretty good and the elastic waist is a nice fit.

I bought this material (bed sheet) with the idea to make a skirt.  Now I can't decide if I should make a dress or a skirt.  What do you think??

Have you found any good thrift finds lately?

Saturday, 14 May 2011

Thrifty Finds Part 2

The other day I went to the local thrift store.  I was so excited about what I bought, that I spent most of the next day refashioning the onesies into doll clothes.  We have several birthday parties to attend this month (all girls), so I thought I'd make some cute doll clothes.  I'm also going to make some from scratch too.

Here is what I made.  I simply cut the bottom half of the onesie off (because they are too long for a doll).  I then added a skirt and some embellishments.  If the onesie was too big for a doll I took it in at the sides.  Yes I still have my old Cabbage Patch Dolls to try things on.


 This onsie with the tie is for MJ!


Because Blogger was down the other day I am posting later than usual.  Today is my wonderful husband's birthday.  We have having a party tonight for him.  I'll post more on that later.

HAPPY BIRTHDAY JON!!

Friday, 6 May 2011

My Wardrobe

I was sorting through my closet the other day switching things around for the warmer weather.  It occurred to me that I really have 3 sizes of clothes: Pre-baby, Maternity, and Post-baby.  Since my closet is very small I obviously can't keep it all in there.  I share maternity clothes with my younger sister so that is all packed in a big box for the next person to use.  I sorted the rest of my clothes in to larger and smaller sizes, then figured out what size I am now.  HURRAY to me I am into my smaller clothes again!  So away went my larger things to the back of the closet.

I am excited now with what I have left because I won't be searching for to long to find something that I can wear and that will fit.  I have also been refashioning a lot of the clothes in my give-away pile to give them new life and save me money.  I really was going to do one post about my wardrobe once I was finished, but I have discovered that this is an ongoing project.

Here are the most recent clothes I have made for myself.  I'll just keep posting as I make more. I'll also learn to model my clothes better or teach my hubby to take some more flattering photos! 1. Simplicity 5189 pattern made with material from Africa. 2. t-shirt, bed sheets, curtain dress refashion. 3. two pairs of khaki shorts made into a skirt. 4. Same Simplicity pattern with a variation.


Here are some more pictures of my latest skirt.  I made it by combining two pairs of khaki capris.


I've got lots more ideas so I'll post them soon.  What have you made for yourself?

Wednesday, 13 April 2011

Fabric Roads

I have decided I must have some kind of craft attention deficit disorder.  Let's call it CADD.  Every time I get onto my computer I find some new craft I want to make.  I get all excited and drop what I'm doing to start this new project.  In yesterday's post I mentioned that I really need to tackle the mess in my bedroom.  Since I also share my room with my crafts (and my hubby), I may need to tackle some unfinished projects before I can clean.

Here is my list of half done projects to finish:
- 2 bean bags waiting to be stuffed and sewn
- 6 placemats to finish appliques and add a backing
- 1 dress needing the facing and hem
- 1 dress mostly cut out
- 4 quilt squares waiting for two pieces of material each
- 20 (soon to be 24) quilt squares needing to be assembled
- 2 shirts wanting to be modified/updated

The reason I'm going on about all this is because I got distracted Monday night.  While looking for some material online I came across this great idea for fabric roads at Seven Thirty Three.  Yesterday I dropped everything and went about making our own set of roads.  I decided to use up several pairs of my husbands old jeans (he donated them to me a long time ago).


Our roads were extremely simple to make.  I cut 6 inch wide strips of jeans in various lengths. I decided to use the wrong side of the material because the other side is stained and they are all different shades of blue/dirt.

 I didn't sew them or anything because I don't think they'll fray that much.  I used yellow puffy paint to draw the lines on the roads.  Total cost $2 for the paint!


 I still need to make some curved roads.  I'll just add that to my list!!

I linked this post up to the following:
Sew Much Ado

Lil' Luna- All Good Things

My Delicious Ambiguity

Wednesday, 6 April 2011

Easy to put on reversible Super Hero Cape

My TJ just loves to play dress-up.  The other day we were talking about Easter.  I mentioned that he could wear his bunny ears if he wanted.  He said "Oh yes I need a costume.  I'll be a pumpkin!"

I was inspired my several of the super hero capes I've seen in my blog hopping rescently, but most of them had ties to do them up.  I wanted to make TJ a cape that he could put on by himself.  Here is what I did.

1. I went to the thrift store an bought 2 shirts (okay one was a dress) that were larger that what TJ wears.  This is so that the neckline would be easy to put on.

2. I cut out a basic cape shape using the back of the shirts for material.  On one shirt I included the neck.

3. I made a cool applique for each side of the cape.

4. Sew the two capes together.  Use a zig-zag stitch around the neckline.

5. I chose to add seam binding around the raw neck line.

6. Look out bad guys it's Supper T!!

Some things I'd change for next time:
 - I really need to learn more about sewing with knits.  This wrinkled and puckered a lot.
- use a slightly smaller neckline.   This one is stretching a bit.

"Look mommy I can wear it like a funny apron"
Of course because he can't see the cape if it is behind him!

What is your super hero wearing?


I linked up to:


lil luna link party buttonNightOwlCrafting


Someday Crafts

House of Hepworths

It's Sew Stinkin' Cute

Fireflies & Jellybeans

Thrilled on Thursdays @ Paisley Passions

Wednesday Crafts: Reverse Applique Shirts

Ever since I made my monster shirt I have been inspired to make more shirts for the boys.  Both of my boys had a shirt in their drawer that they were not going to wear.  MJ had one with a bulldozer, but the shirt was made too short and wide to fit anyone.  TJ had a Thomas dress shirt but he doesn't like buttons.  I decided to find a way to save these unwanted gems.  I give you my reverse applique shirts.


They are quite simple to make.  Here are some pictures of what I did.
1. trace around the picture you'd like and cut it out.
2. Pin your picture to the inside of the new shirt with the wrong side facing you.  Now using a zig-zag or applique stitch, sew around your picture.
3. Cut on the inside of your sewing line to reveal your picture below.
4. enjoy your new shirt!!


Sorry I have no pictures of the boys in their shirts.  MJ has worn his a few times.  TJ won't wear any of the shirts I've made him.  Not sure why but I'll be patient.

Does your little one have a shirt that doesn't fit but they still love?  What did you do?

I linked to:


http://somedaycrafts.blogspot.com/


Saturday, 2 April 2011

Upcycled Sleep Sack

I don't usually blog on the weekend, but I was crafty today and didn't want to wait until next week to share with you all.

I came across this idea from lovinthemommyhood about making a sleep sack from a men's dress shirt.  The original tutorial is from The Cottage Home along with some other incredible tutorials.  I encourage you to check out both of these blogs!

The Cottage Home


The reason I made a new sleep sack for MJ was... I just wanted to try out this tutorial, and because he is outgrowing his old one.  My niece is currently using our next size up. MJ is about the same size as his older cousin, so I had a great excuse to try this out!  Now my wonderful husband doesn't wear dress shirts on a regular basis (he owns two for suits), so I headed over to the Walmart clearance section.  Oh my lucky day!! I picked up two ladies night shirts for only $3 each.  I also got some great kids clothes for gifts...

I mostly followed the tutorial but made a few changes.  I used the full length of the night shirt as MJ is wearing size 18months (he is only 9months old).  I also used the full width of the shirt, so I had very little sewing to do.  On the light blue one I used white bias tape.  On the darker one I used double wide navy bias tape.


Unfortunately for me I traced MJ's old sleep sack that I also made and the arm holes are way too big.  I'll just sew them up and take in a little at the sides tomorrow.  I'd love some ideas for how to decorate them a bit more as they are rather plain.


Have a great weekend and I'll see you next week!